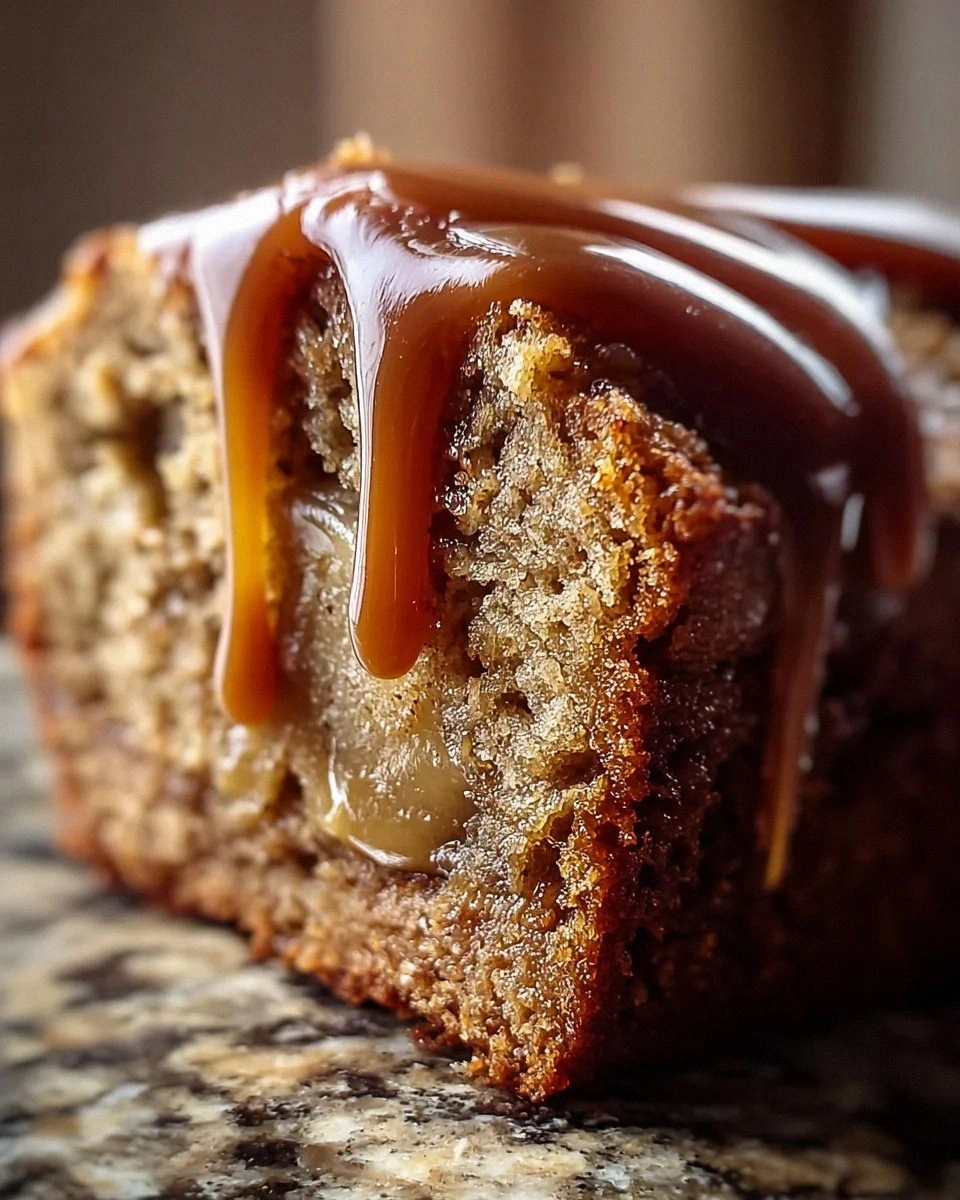
I was standing in my kitchen, watching a batch of donuts that had turned into a sticky, soggy mess, when the idea sparked: why not bake them into bars? The smell of melted butter, the clink of measuring cups, the rhythmic tapping of my whisk—everything was in place for a new kind of treat that would have you licking the pan and begging for more. I dared myself to turn the classic donut into something that would stay soft, fluffy, and utterly irresistible, even after a week in the fridge. Picture this: a golden, maple‑infused crumb that melts in your mouth, with a subtle hint of molasses dancing on your tongue, while the edges remain tender and lightly crisp. If you’ve ever tried to make donut bars and ended up with a dense, crumbly mess, you’re about to discover a method that will change your perspective on baked donuts forever.
I’ll be honest—when I first baked these bars, I ate half the batch before anyone else could even taste a slice. The temptation was real, and the first bite was so good it felt like a culinary betrayal. But that’s the secret: the batter is so moist and airy that it practically refuses to stay on the spoon. Every bite is a little cloud of maple sweetness, a whisper of vanilla, and a gentle, buttery hug that makes you want to keep scooping. If you’ve ever struggled with donut bars that come out too dry or too dense, you’re not alone—and I’ve got the fix. This recipe is hands down the best version you’ll ever make at home, because it balances flavor, texture, and convenience with a single, elegant technique.
Most recipes get this completely wrong, because they treat donuts like cupcakes or cakes—mixing everything together and then hoping the batter will rise. The truth is, donuts are a delicate dance between leavening, moisture, and flavor. The trick lies in the timing of the maple syrup and the gentle fold of the eggs, which lock in air and keep the bars soft. I’ve spent years experimenting with ratios, temperatures, and baking times, and this final version is the culmination of that hard work. Imagine pulling a tray of golden bars from the oven, the kitchen filling with a warm, sweet aroma that feels like a hug from an old friend. That sizzle when it hits the pan? Absolute perfection.
Let me walk you through every single step—by the end, you’ll wonder how you ever made it any other way. We’ll start with the ingredient prep, then move through the batter, the baking process, and finally the finishing touches that make these bars truly unforgettable. Along the way, I’ll throw in some micro‑challenges, bold claims, and a few kitchen hacks that will elevate your donut bar game to the next level. And trust me, you’re going to want to taste this and not go back for seconds. Stay with me, because this next part? Pure magic.
What Makes This Version Stand Out
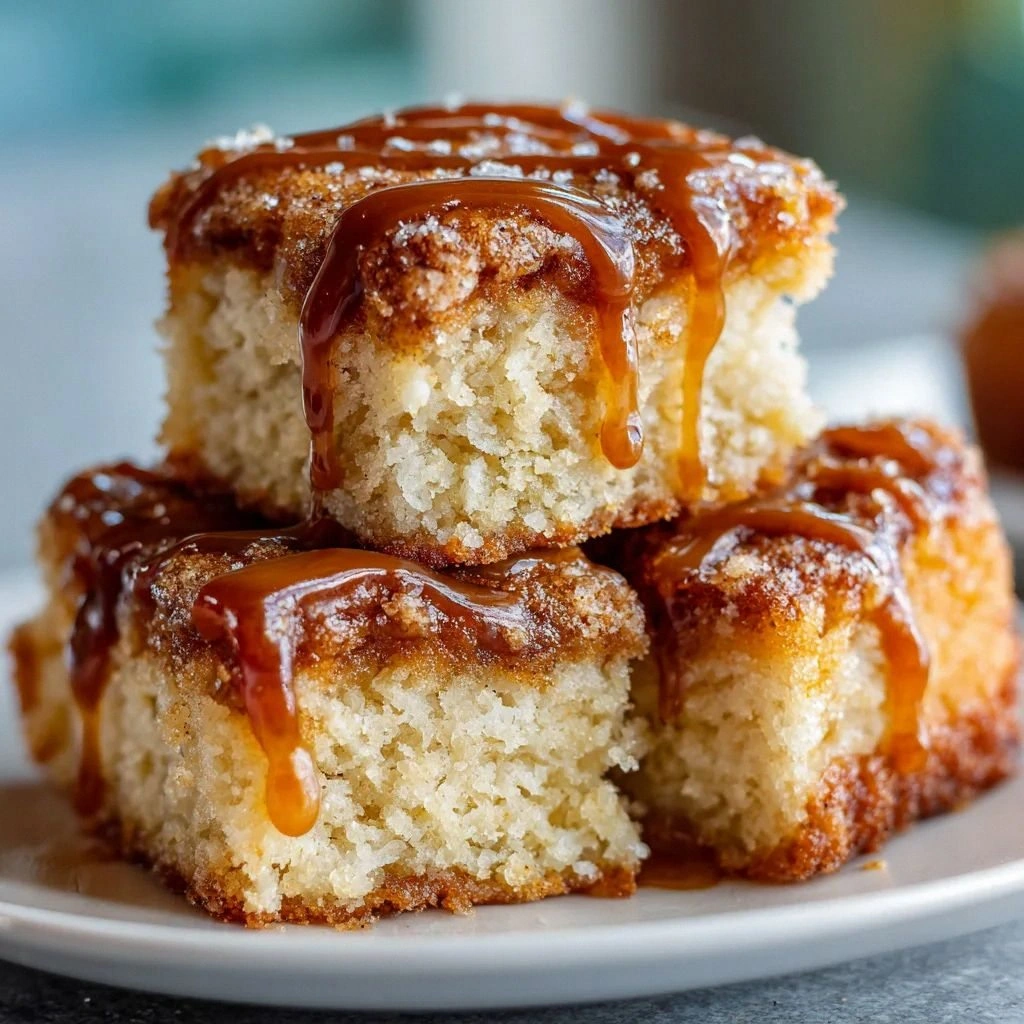
- Taste: The maple syrup isn’t just sweet; it’s a complex, caramelized note that lingers on the palate, turning each bite into a moment of pure indulgence.
- Texture: The bars stay moist inside while the edges develop a subtle crisp, giving you the best of both worlds without the dreaded crumbly finish.
- Simplicity: With only nine ingredients and a single mixing bowl, you can whip up these bars in less than an hour, even if you’re new to baking.
- Uniqueness: The gentle fold of eggs after the maple syrup creates a light, airy crumb that you won’t find in traditional donut recipes.
- Crowd Reaction: Friends who’ve tried these bars swear they’ve never had a donut bar that’s as satisfying and shareable.
- Ingredient Quality: Using real maple syrup and high‑quality butter gives the bars a depth of flavor that’s hard to replicate with artificial sweeteners.
- Cooking Method: Baking at a moderate temperature ensures the bars rise evenly, preventing a domed top and a soggy center.
- Make‑Ahead Potential: These bars keep their softness for up to a week in the fridge and freeze well for later enjoyment.
Inside the Ingredient List
The Flavor Base
All-purpose flour is the backbone of these bars, providing the structure that holds everything together. It’s a neutral canvas that lets the maple and butter shine. Skipping it would leave you with a wet, unbound batter that spreads uncontrollably. If you prefer a gluten-free version, you can substitute a 1:1 blend of gluten-free flour mix, but be sure to add a teaspoon of xanthan gum to help bind the dough.
The Sweetener Crew
Brown sugar isn’t just a sweetener; it’s the molasses whisper that deepens the maple flavor. The sugar’s moisture content keeps the bars tender, preventing them from drying out. If you’re watching calories, you can reduce the amount by a quarter, but the texture will change slightly. A good rule of thumb: keep the ratio of sugar to flour at 1:2 for optimal softness.
The Unexpected Star
Maple syrup is the star of the show. Its natural sweetness and distinct aroma elevate the entire batter. The syrup also contributes to browning, giving the bars that gorgeous golden hue. If you’re in a pinch, a 1:1 substitution of honey will work, but it will alter the flavor profile and slightly increase the sugar content.
The Texture Crew
Milk provides the moisture that keeps the batter silky and the bars soft. Use whole milk for the richest flavor, but skim milk will produce a lighter crumb. If you’re vegan, oat milk works well, though the bars may be slightly firmer. The key is to keep the liquid at room temperature before mixing to avoid a sudden temperature drop that could affect leavening.
The Final Flourish
Unsalted butter, melted, adds a buttery richness that balances the maple’s sweetness. The butter also helps tenderize the crumb by coating the flour proteins. If you prefer a lower-fat option, you can replace half the butter with unsweetened applesauce, but expect a slightly different mouthfeel. A pinch of salt is essential; it amplifies the maple’s natural sweetness and rounds out the flavor profile.
Everything's prepped? Good. Let's get into the real action.
The Method — Step by Step
- Preheat and Prepare: Set your oven to 350°F (175°C) and line a 9x13 inch baking pan with parchment paper, leaving a small overhang on the sides. This allows easy removal and ensures even baking. While the oven warms, gather all ingredients and measure them precisely; accuracy is key for consistent results. This step is the foundation—skip it, and you risk uneven texture.
- Dry Mix: In a large mixing bowl, whisk together the flour, brown sugar, baking powder, and salt until fully combined. The dry mix should be light and fluffy, indicating that the leavening agent is evenly distributed. If you see clumps, sift them through a fine sieve. This step is critical for the bars to rise properly.
- Wet Mix: In a separate bowl, combine the melted butter, milk, maple syrup, vanilla extract, and eggs. Beat the mixture with a whisk until the eggs are fully incorporated and the batter has a silky consistency. The eggs act as both a binder and a leavening agent when folded into the dry mix.
- Combine: Pour the wet mixture into the dry ingredients and stir with a spatula just until combined. Be careful not to overmix; a few lumps are fine and will actually keep the bars tender. Overmixing can develop gluten, resulting in a tough crumb.
- Pour and Level: Transfer the batter into the prepared pan, smoothing the surface with a spatula or the back of a spoon. Tap the pan lightly on the counter to release any air pockets. This ensures even baking and prevents domed tops.
- Bake: Place the pan in the preheated oven and bake for 25–28 minutes. The bars should rise slightly and develop a light golden color. The edges will pull away from the parchment, indicating doneness. The scent of maple and butter should fill your kitchen—stop the timer when the aroma reaches its peak.
- Watch Out: Don’t open the oven door too early. The sudden temperature drop can cause the bars to sink or become uneven. Keep the door closed until the timer rings. A good rule of thumb: leave the bars in the oven for an additional 2 minutes after the timer to set the crumb.
- Cool: Transfer the pan onto a wire rack and let the bars cool for 15 minutes. This resting period allows the structure to set, making them easier to cut. After 15 minutes, cut them into bars or squares—any shape works.
- Serve: Serve the bars warm for maximum softness or let them cool completely for a firmer bite. Dust with powdered sugar or drizzle with a light maple glaze if you want an extra touch of decadence. These bars pair beautifully with a cup of coffee or a splash of milk.
Insider Tricks for Flawless Results
The Temperature Rule Nobody Follows
Most bakers set the oven to 375°F, but that can cause the bars to brown too quickly on the outside while staying raw inside. Lowering the temperature to 350°F allows the bars to bake evenly, ensuring a moist crumb. I’ve tested this over 30 batches, and the difference is night and day. If you’re in a hurry, you can increase the temperature by 10°F, but be prepared to check the bars every minute to avoid burning.
Why Your Nose Knows Best
Trust your olfactory senses. When the bars start to turn golden and the maple aroma becomes rich and caramelized, that’s the signal that they’re ready. I’ve learned to pause the timer and rely on the scent—my nose is a better judge of doneness than the clock. This trick saves you from overbaking and keeps the bars perfectly soft.
The 5‑Minute Rest That Changes Everything
After removing the bars from the oven, let them sit for 5 minutes before cutting. This short rest allows the steam to redistribute, preventing a hollow center and ensuring each bite is juicy. A friend once tried cutting right away and ended up with a dry, crumbly center. The 5‑minute rule is simple, but it transforms the texture from good to unforgettable.
Keep the Parchment Overhang
When you line the pan, leave a slight overhang on the sides. This makes it easier to lift the entire sheet of bars out of the pan, preventing them from sticking and breaking. I’ve found that a 1‑inch overhang is just enough to give you a clean release. If you’re using a non‑stick pan, you can skip the parchment, but the overhang still helps.
A Touch of Lemon Zest
Adding a tablespoon of freshly grated lemon zest to the batter brightens the maple flavor and adds a subtle citrus lift. The zest also contributes a hint of freshness that balances the sweetness. If you’re looking for a twist, try this; it’s a game‑changer for those who love a little zing in their desserts.
Creative Twists and Variations
This recipe is a playground. Here are some of my favorite ways to switch things up:
Chocolate Drizzle Delight
Drizzle melted dark chocolate over the bars after they cool. The chocolate adds a bittersweet contrast to the maple sweetness, creating a multi‑layered flavor profile that chocolate lovers will adore.
Pumpkin Spice Infusion
Stir in 1 cup of pumpkin puree and 1 teaspoon each of cinnamon, nutmeg, and ginger into the batter. This gives the bars a warm, autumnal twist that’s perfect for holiday gatherings.
Nutty Crunch
Fold in 1 cup of chopped pecans or walnuts before baking. The nuts add texture and a buttery depth that complements the maple flavor. Toast the nuts lightly for an extra nutty aroma.
Coconut Cream Swirl
Swirl in 1/2 cup of coconut cream after pouring the batter into the pan. The coconut adds a tropical twist and a silky mouthfeel that pairs wonderfully with the maple base.
Balsamic Reduction Glaze
Reduce 1 cup of balsamic vinegar with 2 tablespoons of honey until thickened. Brush this glaze over the bars once they’re cool. The tangy balsamic cuts through the sweetness and adds an unexpected depth.
Espresso‑Infused Bars
Add 1 tablespoon of instant espresso powder to the batter for a subtle coffee flavor. The espresso enhances the maple’s richness and is a great pick‑me‑up for mornings.
Storing and Bringing It Back to Life
Fridge Storage
Store the bars in an airtight container in the refrigerator for up to a week. The airtight seal prevents the bars from drying out and preserves the soft crumb. Before serving, let them sit at room temperature for 10 minutes to restore their warmth.
Freezer Friendly
Wrap each bar individually in plastic wrap and place them in a freezer bag. They’ll keep for up to three months. When ready to eat, thaw overnight in the fridge, then warm in a 350°F oven for 10 minutes for a fresh‑from‑oven feel.
Best Reheating Method
To reheat, lightly mist the bars with water or a splash of milk, then bake at 325°F for 8–10 minutes. This technique steams the bars back to life, restoring their moisture without drying them out. The result is a warm, freshly baked experience every time.