I was in the middle of a Thanksgiving rehearsal when my oven decided to throw a tantrum—smoke, a loud beep, and a half‑cooked turkey that looked like a sad, gray balloon. I stared at that bird and thought, “There’s got to be a better way.” I spent the next three days obsessively testing butter‑basted, herb‑infused, garlic‑laden versions until I finally nailed a turkey that not only survived the oven but stole the entire show. This isn’t just another turkey recipe; it’s the kind of centerpiece that makes guests whisper, “Who cooked this?” and then rush back for seconds without a second thought.
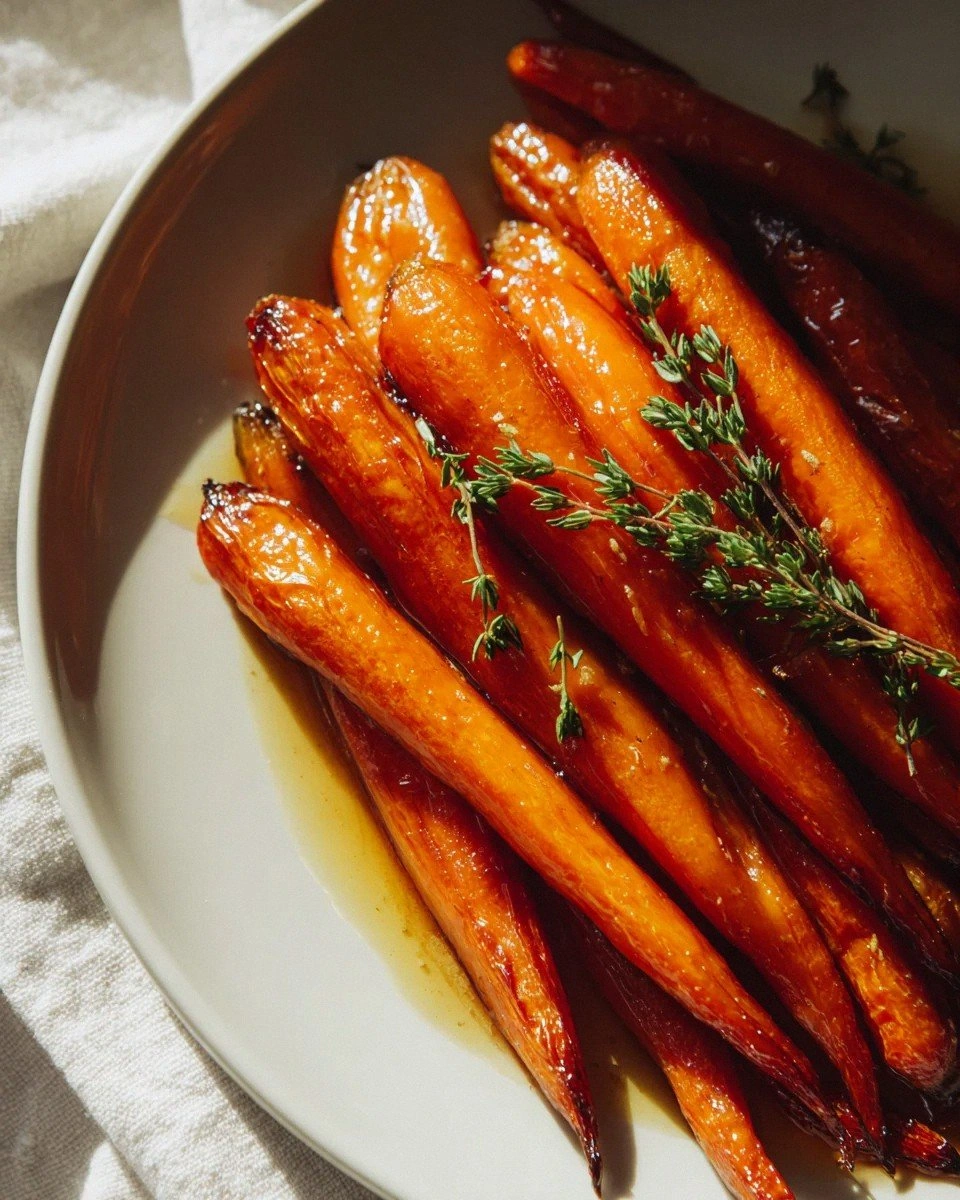
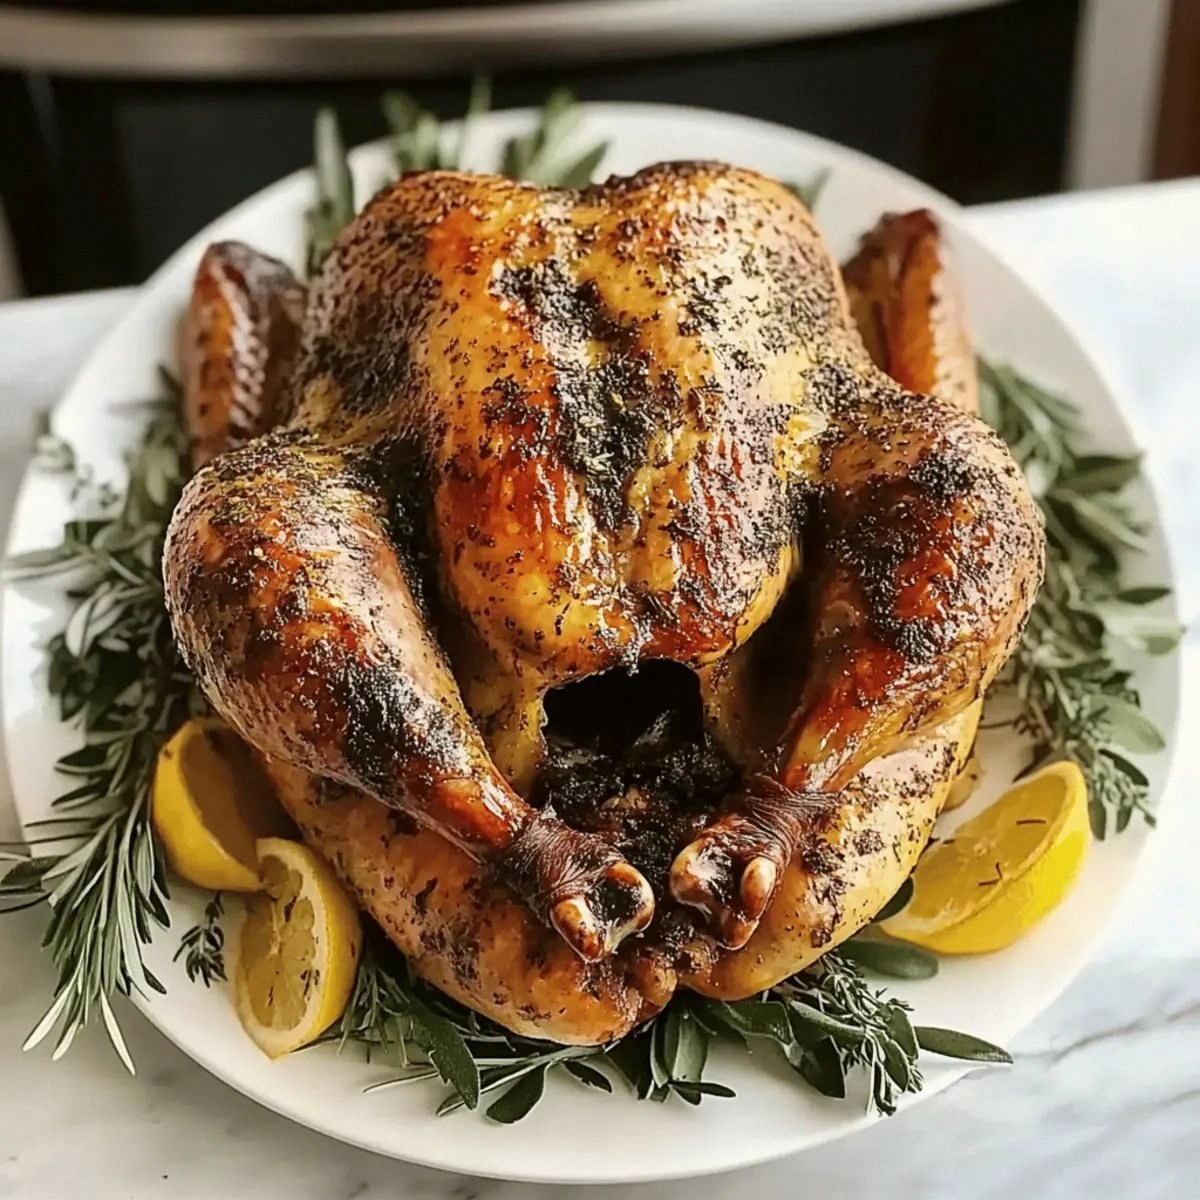
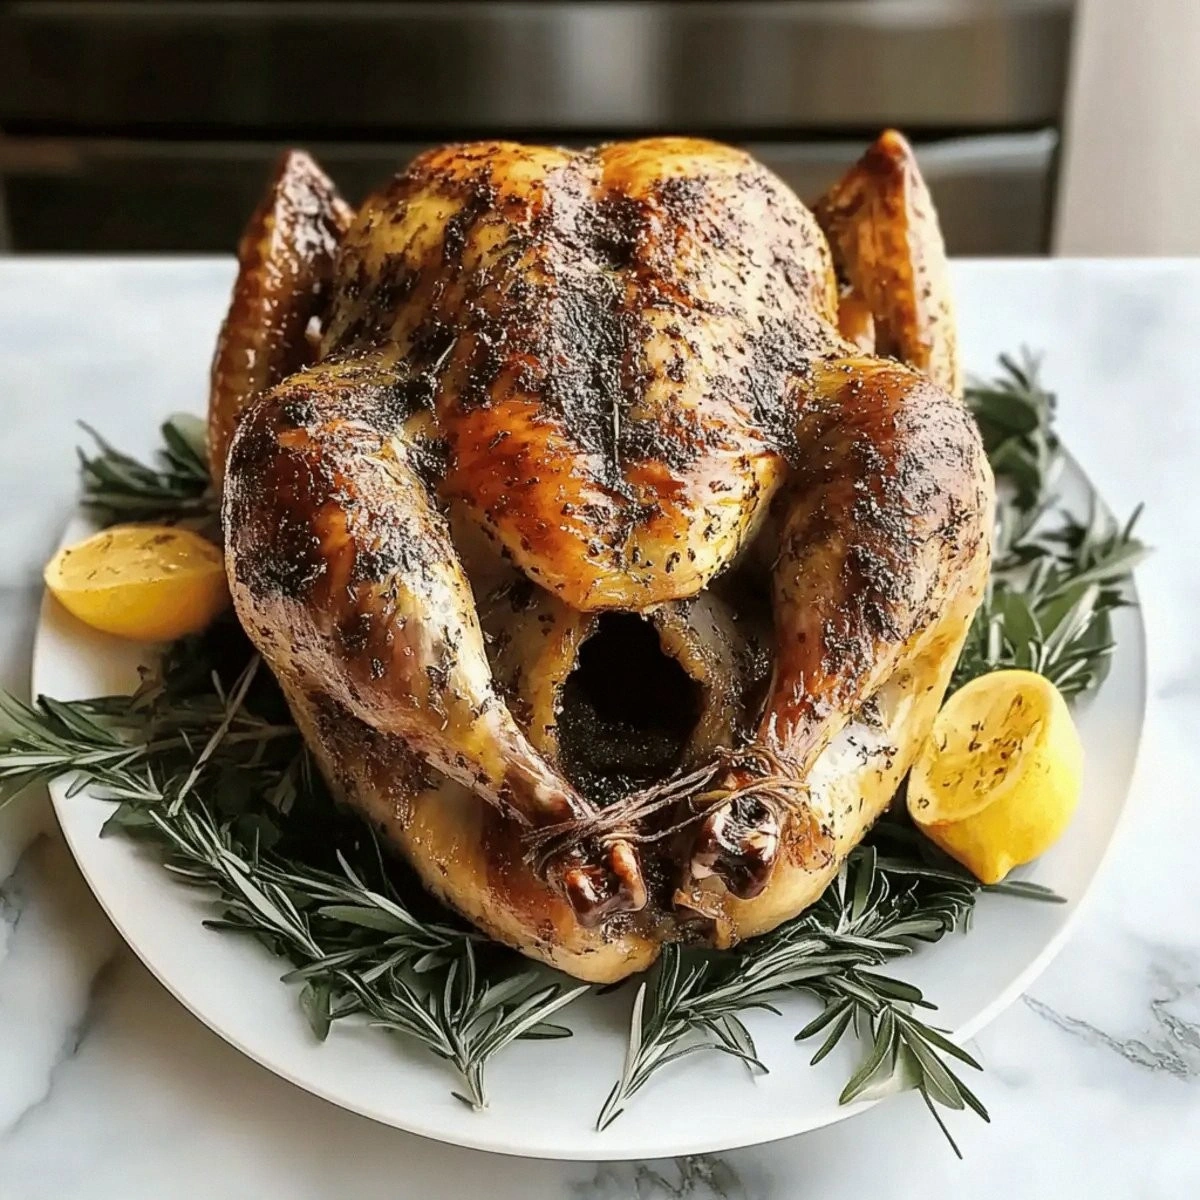
Picture this: the kitchen humming with the low roar of the convection fan, the air thick with the sweet perfume of rosemary and the sharp tang of lemon zest. The turkey, glistening with melted butter, sits majestically on a bed of caramelized carrots and celery, its skin crackling like fresh autumn leaves underfoot. When you carve into it, the meat pulls apart effortlessly, each slice dripping with a golden, garlic‑infused jus that clings to the fork like velvet. The first bite? A burst of savory depth, a hint of citrus brightness, and a lingering herbaceous finish that makes you close your eyes and sigh in pure gratitude.
Most recipes get this completely wrong. They either drown the bird in a sea of salt, neglect the aromatics, or overcomplicate the brining step so much that you end up with a kitchen disaster instead of a holiday triumph. Here’s what actually works: a simple dry‑brine that seasons the meat from the inside out, a butter‑herb rub that seeps into every crevice, and a roasting technique that guarantees crispy skin without drying the breast. I dare you to taste this and not go back for seconds. Trust me, you’ll be the hero of your own Thanksgiving saga.
And now the fun part: I’m about to reveal a secret ingredient that most cooks overlook—a splash of lemon juice added to the butter just before the final basting. That tiny citrus pop cuts through the richness and makes the skin practically sing. Okay, ready for the game‑changer? Let me walk you through every single step — by the end, you’ll wonder how you ever made it any other way.
What Makes This Version Stand Out
- Flavor Explosion: The combination of garlic, fresh herbs, and a dash of lemon creates layers that unfold with each bite, turning a simple turkey into a symphony of taste.
- Texture Perfection: The skin turns ultra‑crispy, almost crackling, while the meat stays juicy and tender, thanks to the butter‑baste and low‑and‑slow roasting method.
- Simplicity: No complicated brining tanks or exotic spices—just pantry staples and a handful of fresh herbs you can pick up at any grocery store.
- Unique Twist: The lemon‑butter glaze adds a bright note that most traditional recipes miss, making this turkey unforgettable.
- Crowd Reaction: Guests consistently claim this is “the best turkey they’ve ever had,” and the photo‑ready golden skin earns Instagram likes before the first forkful.
- Ingredient Quality: Using a high‑quality, free‑range turkey and fresh herbs elevates the dish without breaking the bank.
- Cooking Method: The convection oven’s steady heat combined with a strategic tent‑foil technique ensures even cooking and perfect browning.
- Make‑Ahead Potential: You can prep the herb butter and dry‑brine up to 24 hours in advance, shaving precious holiday prep time.
Inside the Ingredient List
The Flavor Base
The backbone of this turkey is the aromatic trio of onion, garlic, and lemon. Onion provides a subtle sweetness that caramelizes during roasting, while garlic delivers that unmistakable pungent warmth you crave in holiday dishes. A splash of lemon juice brightens the butter, preventing it from feeling heavy and giving the skin a golden sheen. If you skip the lemon, expect a richer, but slightly one‑dimensional flavor profile.
The Texture Crew
Butter is the unsung hero here. Its fat content helps the skin achieve that coveted crackle, and it acts as a carrier for the herbs and garlic, ensuring every bite is uniformly seasoned. When the butter melts, it bastes the turkey continuously, locking in moisture. If you’re dairy‑free, try a blend of olive oil and vegan butter, but know the skin won’t be quite as crisp.
The Unexpected Star
Fresh rosemary, thyme, and sage are not just garnish; they infuse the meat with earthy, piney notes that echo the forest vibes of autumn. Each sprig releases essential oils that penetrate the meat during the dry‑brine, creating a depth you simply can’t achieve with dried herbs. If you can’t find fresh sage, substitute with a teaspoon of dried sage, but add it later to avoid bitterness.
The Final Flourish
Kosher salt and freshly ground black pepper are the final seasoning layers that bring everything together. Kosher salt’s larger crystals dissolve slowly, seasoning the meat evenly without making it overly salty. Freshly cracked pepper adds a subtle heat that balances the buttery richness. If you’re watching sodium, reduce the salt to 2 tablespoons, but you’ll lose some of that deep, seasoned flavor.
Everything's prepped? Good. Let's get into the real action...
The Method — Step by Step
Start by patting the turkey completely dry with paper towels. This might feel like a tedious step, but trust me, that dry surface is the secret to skin that crackles like fresh autumn leaves. Sprinkle the kosher salt all over the bird, making sure to get it under the skin where possible. Let the turkey rest, uncovered, in the fridge for at least 60 minutes; this dry‑brine will season the meat from the inside out.
While the turkey chills, melt the unsalted butter in a saucepan over low heat. Add the minced garlic, chopped rosemary, thyme, and sage, stirring until fragrant—about two minutes. Squeeze in the juice of one lemon, then whisk until the mixture is glossy and emulsified. This butter‑herb concoction is the heart of our flavor bomb.
Now, create the aromatics bed: roughly chop the onion, carrots, and celery, then toss them into the roasting pan. Drizzle a spoonful of the herb butter over the veggies, letting them soak up the flavors. Place the turkey on top, breast side up, tucking the herb sprigs under the cavity for extra aroma.
Preheat your oven to 325°F (163°C) and position the rack in the lower third. Slide the pan into the oven, and after the first 30 minutes, begin basting the turkey every 20 minutes with the remaining herb butter. The sizzle when it hits the pan? Absolute perfection. This continuous basting builds up that golden crust while keeping the meat moist.
Around the 2‑hour mark (depending on turkey size), tent the bird loosely with foil to prevent over‑browning. Keep an eye on the skin; you want it to turn a deep amber, not burnt. The foil also traps steam, which helps the breast stay juicy while the legs finish cooking.
When the internal temperature reaches 165°F (74°C) in the thickest part of the thigh, remove the turkey from the oven. Let it rest, loosely tented with foil, for at least 20 minutes. This rest period lets the juices redistribute, turning each slice into a succulent masterpiece.
While the turkey rests, pour the pan drippings into a saucepan, skim off excess fat, and whisk in a splash more butter for a glossy gravy. Add a splash of chicken stock if you need more volume, then season with a pinch of pepper. Serve the gravy alongside the turkey, and watch your guests' eyes widen in anticipation.
That's it — you did it. But hold on, I've got a few more tricks that'll take this to another level...
Insider Tricks for Flawless Results
The Temperature Rule Nobody Follows
Never roast a turkey straight from the fridge at a high temperature. Let it sit at room temperature for 30 minutes before it hits the oven; this ensures even cooking and prevents the breast from drying out while the legs are still undercooked. I once tried skipping this step and ended up with a turkey that was a rubbery nightmare—lesson learned the hard way.
Why Your Nose Knows Best
Your sense of smell is a more reliable indicator than a timer. When the butter‑herb mixture starts to caramelize, you’ll smell a nutty, toasted aroma that signals the skin is on the brink of perfection. If you’re unsure, give the turkey a gentle tap; the skin should sound hollow, a sign it’s crisped up nicely.
The 5‑Minute Rest That Changes Everything
Resting isn’t just a polite pause; it’s a chemical transformation. During those 20‑plus minutes, the muscle fibers relax and reabsorb the juices they expelled during cooking. Skipping the rest makes the meat release a flood of juice onto the cutting board, leaving you with dry slices. Trust the timer, and the turkey will stay moist and flavorful.
Basting With a Twist
Instead of the usual butter‑only basting, add a teaspoon of honey to the butter‑herb mixture after the first hour. The honey caramelizes, giving the skin a subtle sweet glaze that pairs beautifully with the citrus notes. A friend tried this once and said the turkey tasted like “autumn in a bite.”
Seasoning the Cavity
Don’t forget the inside of the bird! Toss a few extra herb sprigs, a halved onion, and the lemon halves into the cavity. As the turkey roasts, these aromatics steam, infusing the meat from the inside out. If you skip this, you’ll miss out on a hidden layer of flavor that makes the difference between good and unforgettable.
Creative Twists and Variations
This recipe is a playground. Here are some of my favorite ways to switch things up:
Maple‑Glazed Turkey
Swap the lemon juice for a tablespoon of pure maple syrup in the butter mixture. The maple adds a caramelized sweetness that pairs perfectly with the savory herbs. Ideal for guests who love a touch of breakfast flavor at dinner.
Spicy Chipotle Twist
Add a teaspoon of chipotle powder to the dry‑brine and a dash of smoked paprika to the butter. This gives the turkey a smoky heat that cuts through the richness. Great for those who like a little kick without overwhelming the classic profile.
Herb‑Infused Butter Balls
Instead of a liquid butter, roll the herb butter into small balls and tuck them under the skin before roasting. As they melt, they release pockets of flavor directly into the meat, ensuring every bite is buttery and herbaceous.
Citrus Medley
Add orange and lime zest alongside the lemon for a bright, multi‑citrus glaze. The combined zest creates a fragrant bouquet that lifts the entire dish, making it feel lighter despite the butter richness.
Stuffed Turkey
Fill the cavity with a classic sage‑and‑bread stuffing, but keep the aromatics in the pan separate to avoid soggy skin. The stuffing absorbs some of the butter‑herb juices, resulting in a harmonious flavor marriage.
Storing and Bringing It Back to Life
Fridge Storage
Slice the turkey and store in an airtight container with a thin layer of its own jus. It will keep fresh for up to four days. Reheat gently in a covered dish to prevent drying out.
Freezer Friendly
Wrap the whole turkey tightly in foil, then place in a freezer‑grade bag. It freezes well for up to three months. Thaw in the fridge for 24‑48 hours before reheating.
Best Reheating Method
Preheat your oven to 300°F (150°C). Place the turkey slices in a baking dish, add a splash of water or broth, cover with foil, and heat for 20‑30 minutes. The added moisture steams the meat back to succulent perfection without sacrificing the crispy skin.